Scrivener Basics (2)
This is a continuation of last week’s tutorial where we learned about the toolbar, the binder, and starting a project. Go here to start from the top.
For your reference, this is the screen and the terminology I will use.
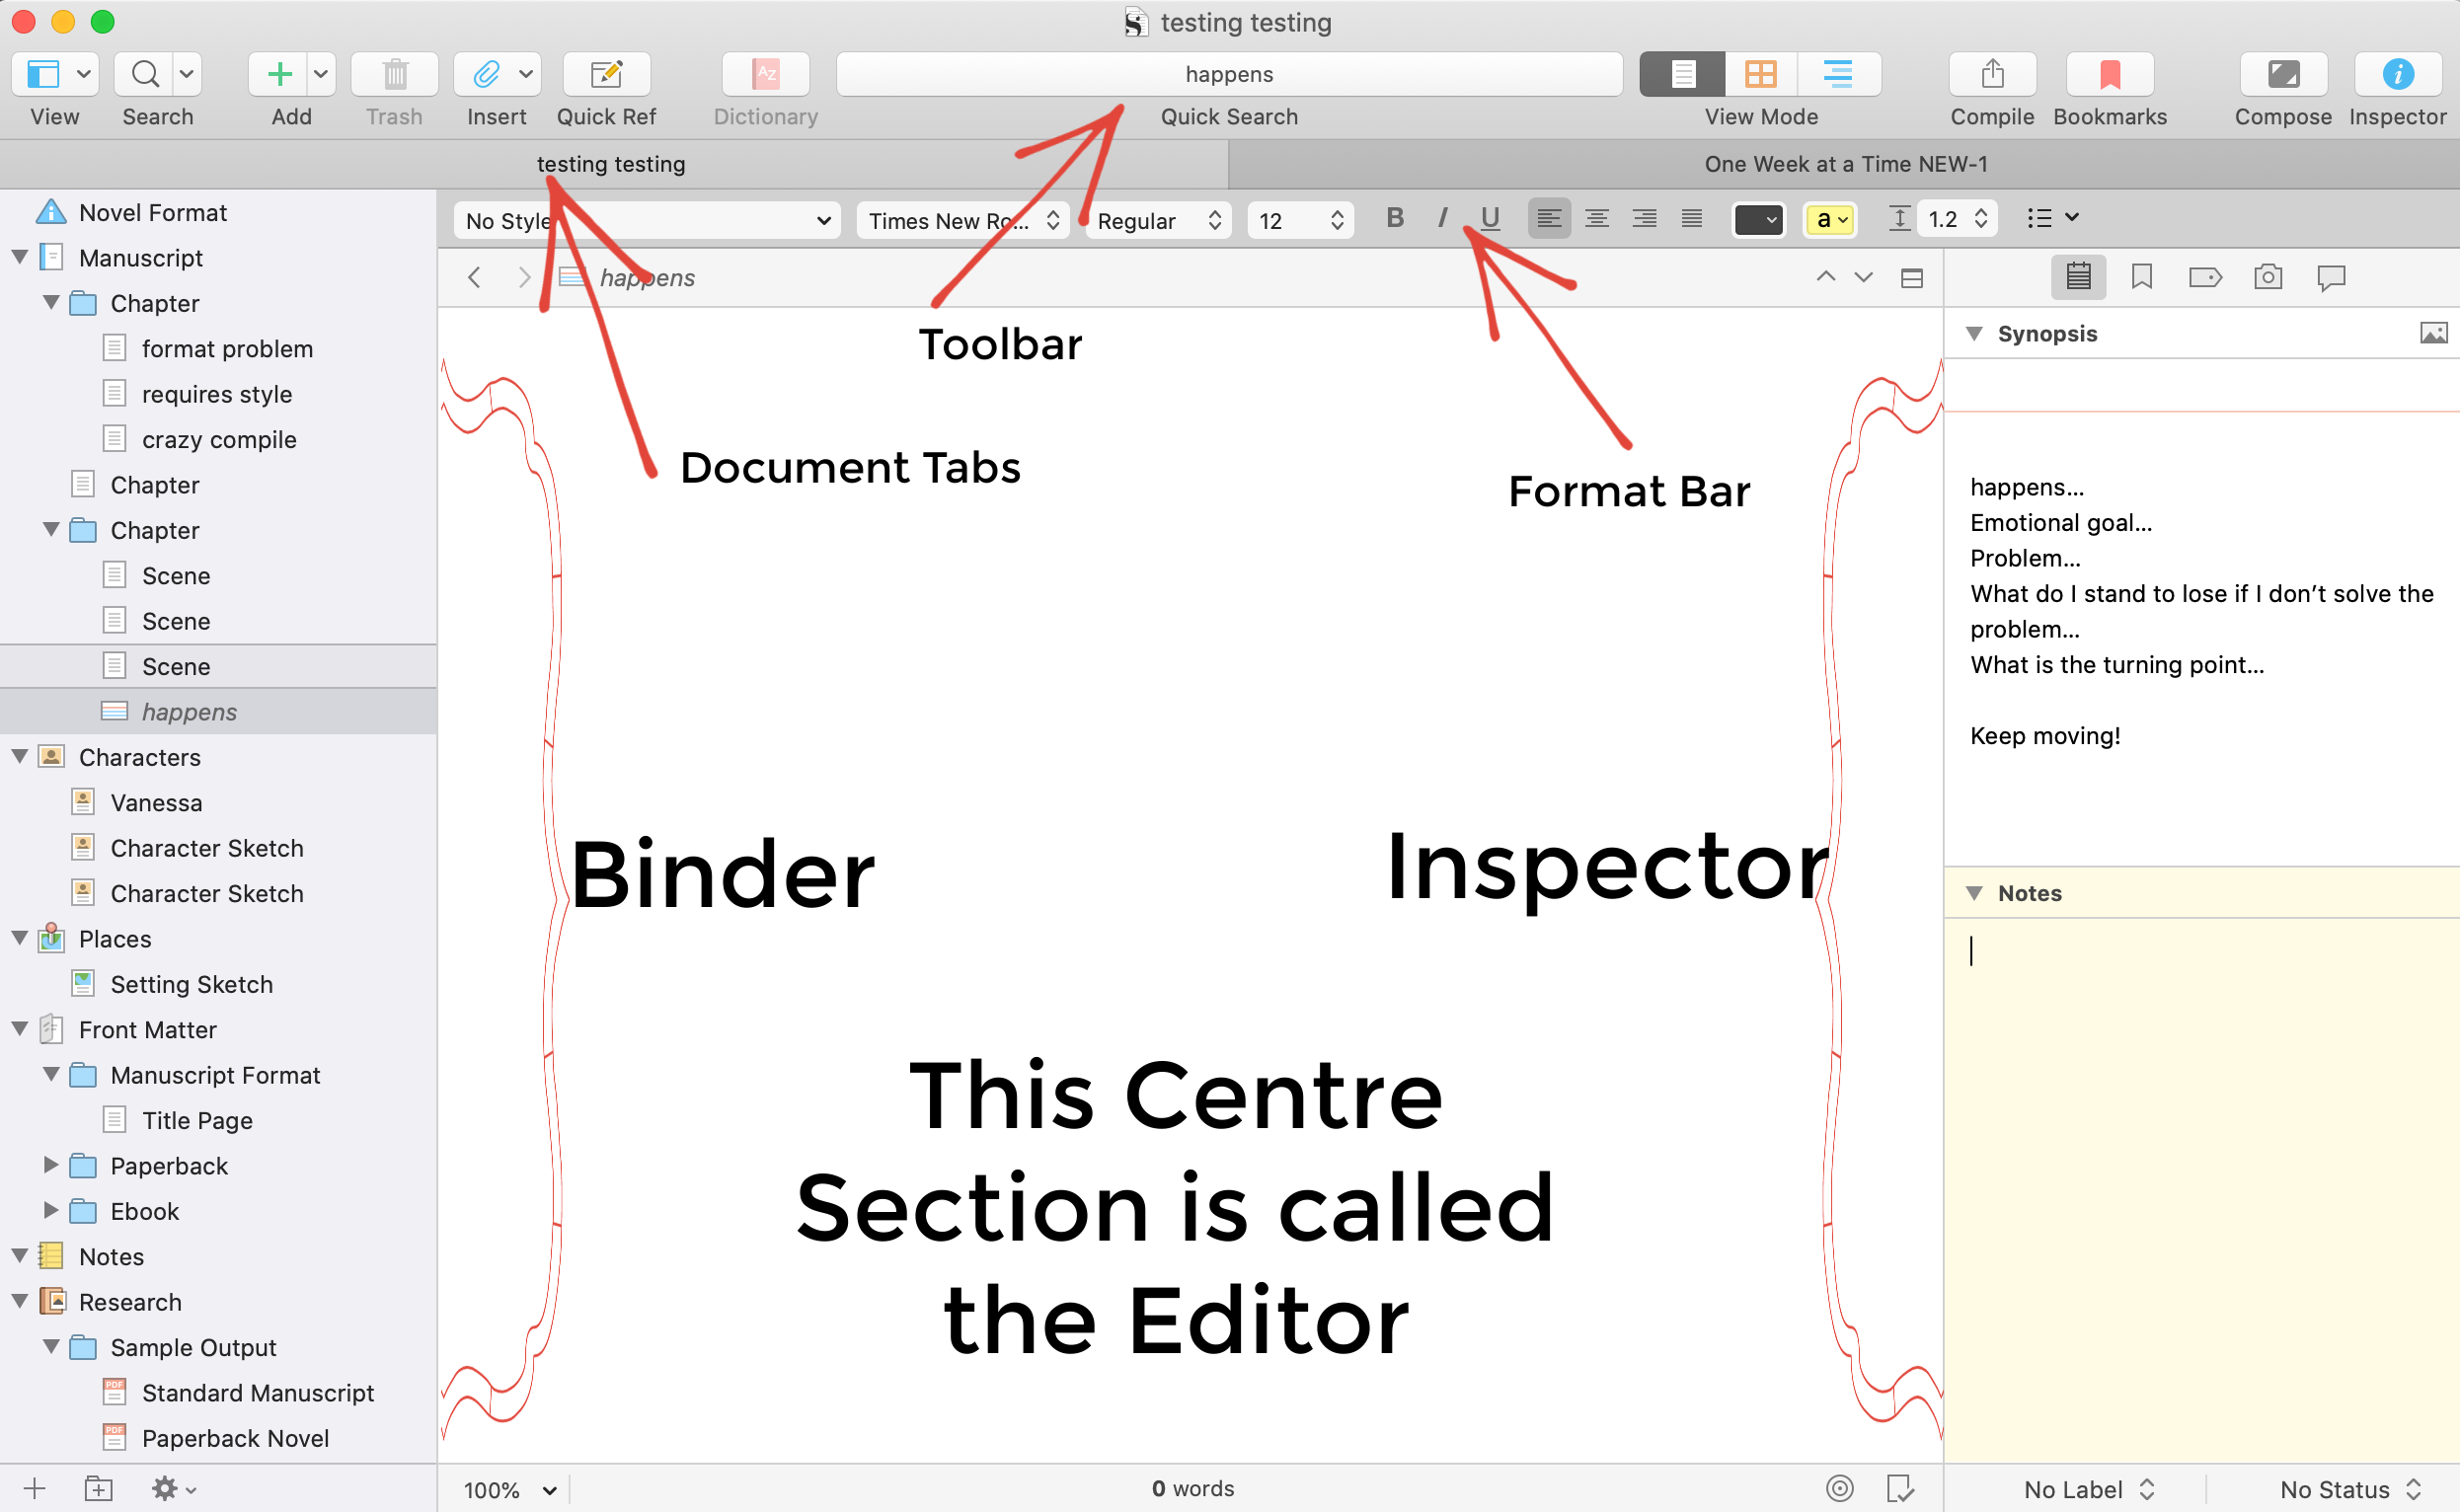
In the Format Bar…
Styles
<Preference><Editing><Formatting> determines ‘no style’
To change by document
<Formal><Style><Set Default Formatting> Toggle ‘use different default formatting’
Using the Style shortcuts will apply to the whole paragraph. For a selection, use <Formal><Style> from the file menu
Highlight
Choose Highlight in various colours to mean different things is you like. You can search (using inspector) by colour. I use yellow, for example, to mean I need to research something if I don’t want to interrupt my writing flow. Later, I search by ‘yellow’ from inspector <Find by Formatting…><Find: Highlighted Text><Limit Search to Color> Choose your colour and go to each highlighted text one by one.
NOTE: Formats attributed in the format bar may NOT translate to the final piece. Compile can be told to skip over highlighting for example or font changes (more on this in Compile).
In the Editor…
Split Screen (to change top/bottom to side/side hit ^click or control/right click)
Use split screen for comparing, cut and paste, watching transitions, notes, research, anything you like. Watch the highlighted top bar though so you don’t make changes to the wrong screen. To lock formatting choose and right click (or ^click) and select <Open><In Copy Holder> This makes the file subordinate and you can’t mess with the formatting. I used this for my beat sheet to follow along for example.
In the Inspector…
Document Bookmarks
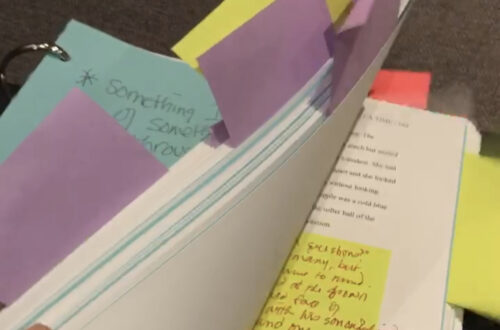
These are great for dropping in Character sketches, Scene Descriptions or other reference material (even photos)
Go to second icon on top of inspector synopsis panel for functionality.
Labels (and using them)
Labels changed my life!
Find them at the bottom of the inspector. Change by using the drop down menu, customize by using the Edit feature.
If you want these labels to show up in other areas of your workspace, here’s a fun trick.
<View><Use Label Color In…> Then choose you option. I love to see the colours in the binder, personally.
In the File Menu…
Text Tidying
<Edit><Text Tidying>
In here you can get rid of double spaces after a full stop, extra tabs, or other common formatting problems.
Writing Tools
<Edit><Writing Tools><Linguistic Focus>
Here you can highlight parts of speech (ie/ I have a tendency to switch to present tense and this helps me highlight all verbs so I can address concerns—great for switching to past perfect for flashbacks if you have them!) If you want to see how many adverbs or adjectives you use, here is where you go too. If you want to see where the verbs are, go here. In summary, this is a fun editing tool before you head to ProWriting Aid.
Document Tabs
<Window><Merge All>
If you want all your manuscripts at the ready, this is handy.
Table of Contents
When you have all the files ready for a Table of Contents, highlight the folders you want included and do the following:
<Edit><Copy Special><Copy Documents as ToC>
Then go to your Table of Contents and paste. This will auto-populate the page numbers, change the titles if you make alterations etc. Table of Contents in the novel formats are found in Front Matter and would need to be included in Compile for your final output. Speaking of compile… That is next week’s lesson. Stay tuned!
You May Also Like