Scrivener Basics
I love Scrivener. I used to write in Word, but having a lot of files open at once slowed me down and I ended up with many files with similar stories representing different chapters or a large, unwieldy file that felt disorganized. Partly Word didn’t work because I hadn’t done the outline yet and my brain kept telling myself, “I need to write about the time that…” Then I discovered Scrivener and it changed the way I write, organize, and feel about my large works/manuscripts.
I recently did a seminar to teach some of my writer friends the basics of the programme and thought I’d share my notes here in case you are considering a change.
Have fun and happy writing!
SCRIVENER BASICS by Kristine
New Project
<File><New Project>
Choose a template that closely matches what you plan to do with it (Screenplay especially. Non-Fiction has Bibliography and Equation templates for example). You can add anything to a blank project but you have to know a little more about what you are doing to improve functionality. Each project template comes with a format file which will give you an overview. It appears before your manuscript and is worth reading before you start.
Create Backup Location
<Scrivener><Preferences><Backup>
I choose to back up to Dropbox. This option allows me to access my file from my iPad, phone etc and it is auto-saved before I open it on my laptop.
Font Preferences
<Scrivener><Preferences><Editing><Formatting>
This will affect what you see on the screen, but not what is printed.
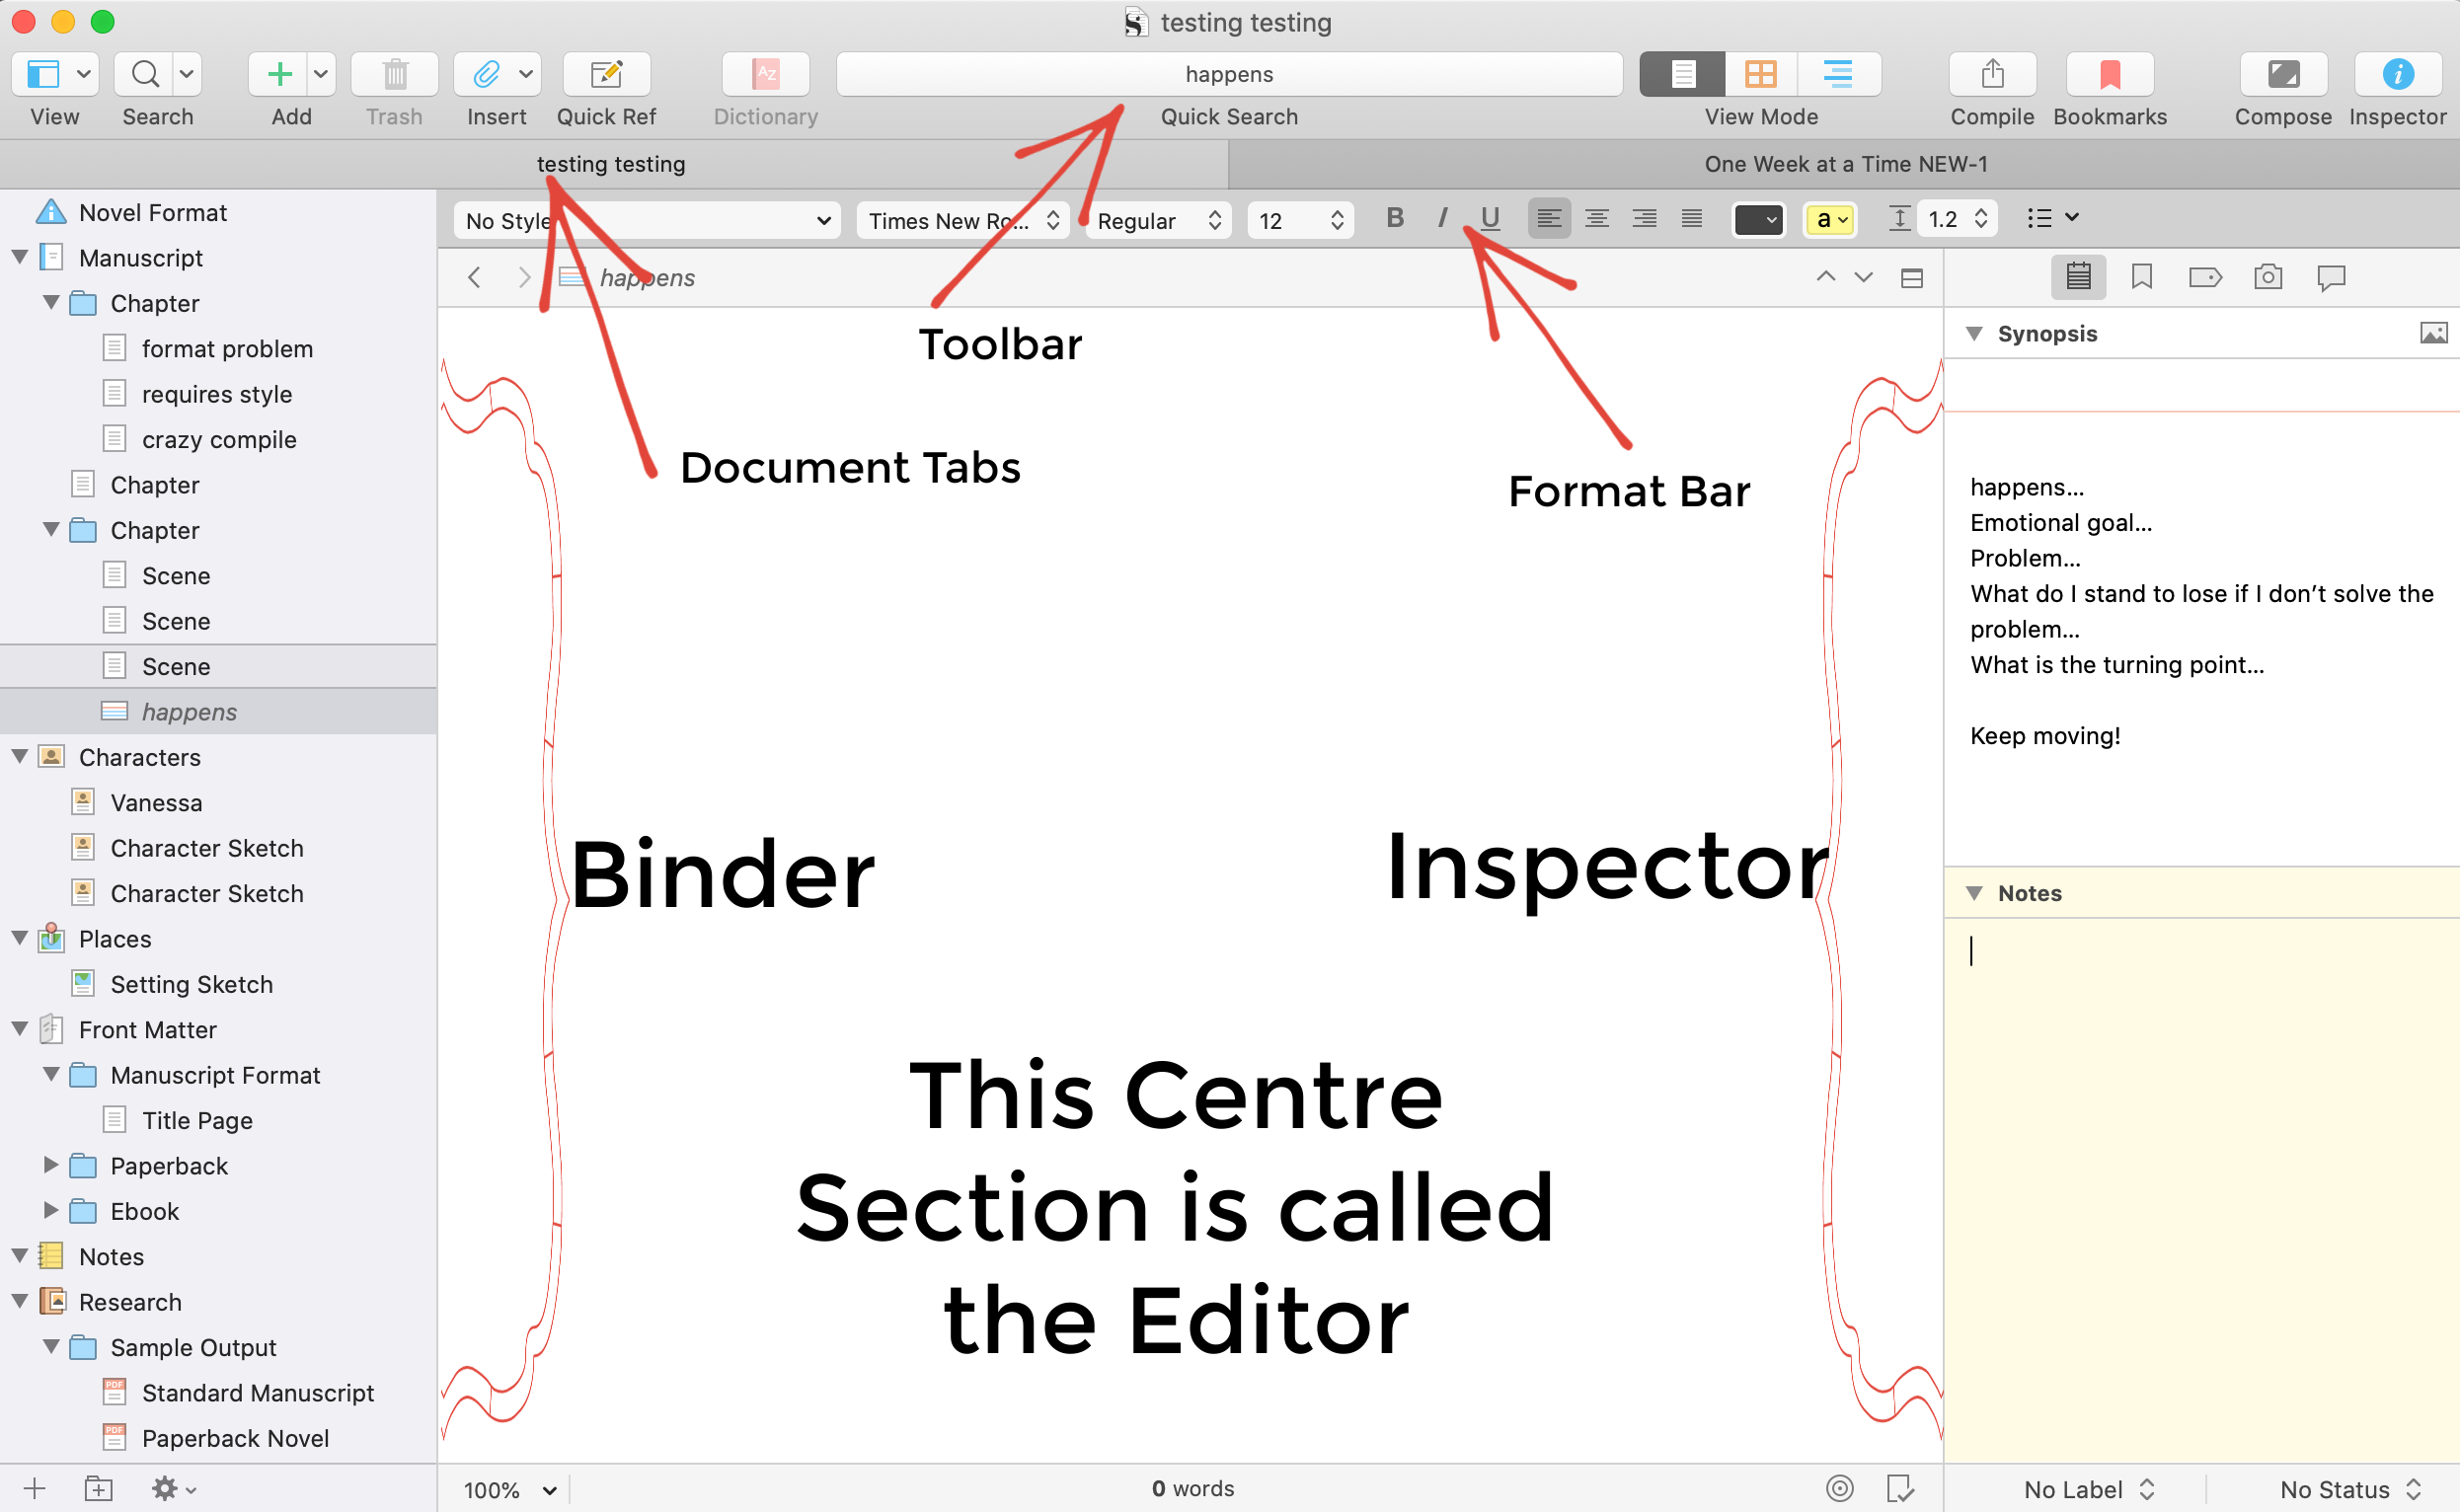
In the Binder…
An introduction to the terminology.
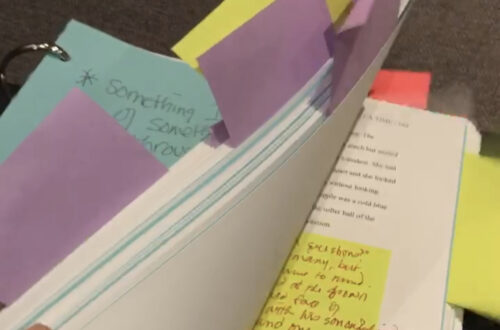
Folders and Scenes (Organization and Addition)
<+> Or folder +
If you choose + while highlighting a character sketch, you will get one of those. If you are in a scene and press + you will get one of those. For a new folder, use the folder + button.
Character and Scene Sketches (from Templates)
Using the +symbol while in the Character or Scene folders (if using a template), you can add a character or scene sketch. If you have specific information you need to include for each scene (I don’t know, maybe what colour the walls are in each room), change that in the section labelled ‘Template Sheets.’ This will ensure that when you open a new scene sketch you remember to include the colour of the walls. Do not drag and drop the template into the Character file, use the +button instead.
Change Icon
Highlight the item you want to change, use the gear icon at the bottom of the binder, select <Change Icon> choose and go. Great if you need to highlight the trait of a file, like a lightbulb for an idea or word bubble for a soliloquy.
In the Toolbar…
^click to customize (control click, right click)
<customize toolbar…>
Scrivener vs Corkboard vs Outliner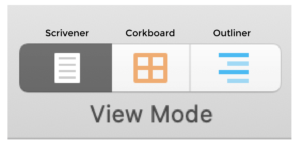
Three ways to view existing content.
Page, Grid, List icons in toolbar
Scrivener—where you will do your writing
Corkboard—where you will see your synopsis on index cards, view timeline for labels
Outliner—List of details you select, no writing
Progress Bar (or is it?)
<Project><Show Project Targets>
Customize word count and daily writing goals.
Progress for entire project is the top, daily is the bottom progress bar. (If only daily is selected, it is the top bar)
Scroll over to see the word count at any time.
Search (Using Quick Search vs Inspector)
Use Inspector when…
Search by formatting
Search and Replace
Use Quick Search when…
Looking for phrases or consecutive words
Entire document without selecting
Shows exact spot without going through binder
Next week…
Format Bar, Inspector, Editor, File Menu
The following week…
Compile!
You May Also Like